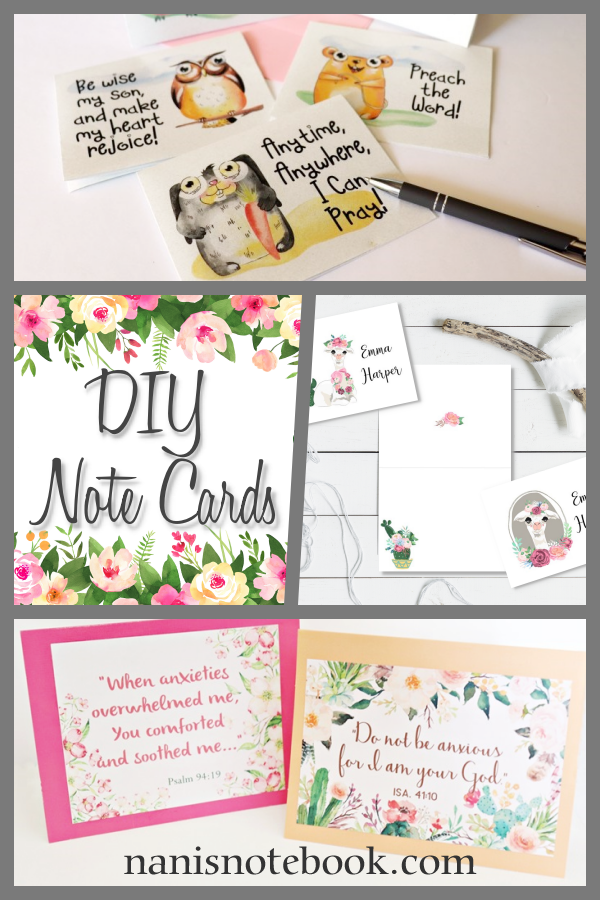
As you can tell from my shop, I love making personalized greeting cards to send, especially using encouraging quotes and verses appreciated by JWs. I’m making some of my digital card files available now for sale in my shop so you can make your own DIY note cards – easily and affordably!
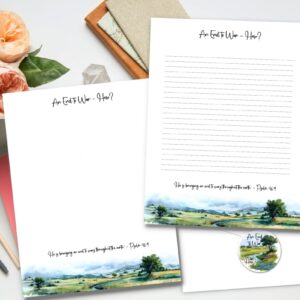
Half-Fold Cards
These cards are printed on cardstock paper.  You need to print them double-sided, then cut along the outside lines and simply score and fold on the center line. You may have to experiment to know how to feed the other side through your particular printer to have the back side going in the proper direction. With my Brother printer, I just print one side and put the paper back in just how it came out to print the other side properly.
Of course you also want to print Actual Size and Best Quality print. And, you will definitely need cardstock for these, not regular printer paper because the print will show through.
Decorating Purchased Blank Cards
 I originally made all my cards using colored blank cards I purchased and gluing my prints to the outside and inside of the cards. See my post here: How to Make Easy Scripture Greeting Cards.
If you like this idea, just print out the half-fold cards on paper (reduce the size to 80-90%) and cut the outside and inside prints to fit on the card, leaving a slight margin. Use a paper trimmer to make the edges neat and even.
Glue or tape the prints down. I have experimented with different glue sticks and double-sided tape and finally found the best sticking glue is Zip Dry. Any other method I’ve used eventually comes unstuck – I think because of the coating on the textured cards.
Blank Cards to Use
 These cards can be made in 2 sizes – small A2 cards – 4.25 x 5.5 inch. And A7, which are 5×7 inch. For the 5×7, I like to use Natural blank cards that look like brown Kraft paper. They add a rustic touch. I like the larger size for special occasion cards like wedding or anniversary cards. Of course, you can get the 5×7 blank cards in white or ivory also.
Bear in mind, the recipient may love the print well enough to want to frame it – many of my recipients have! I’ve also made up a bunch of the smaller cards and given small sets as gifts. Circuit overseers’ wives appreciate them, as do elderly sisters that can’t go shopping for cards.
![]() Michael’s has some nice small blank cards that are perfect for this project. They’re 4.25 x 5.5 inch. I like to stock up when they have them on sale for just $5 – for 60-80 cards. (Regular price is $20, so wait for the sale, or use a coupon.) They come in lots of colors, prints and textures.
Michael’s has some nice small blank cards that are perfect for this project. They’re 4.25 x 5.5 inch. I like to stock up when they have them on sale for just $5 – for 60-80 cards. (Regular price is $20, so wait for the sale, or use a coupon.) They come in lots of colors, prints and textures.
You can also order some very similar blank cards from Amazon. Boxes of 40 are around $8-12. Or use pretty scrapbook cardstock and make your own!
Envelopes
All of my digital cards are either A2 or A7 size, which fit standard A2 and A7 envelopes. Many of my collections include templates to make matching envelopes. I also have a collection of basic envelope templates in both sizes in a variety of colors: Envelope Templates
My Digital Card Files
After you purchase my Digital Card files, you will receive the download link. The files include printing and folding instructions and will need to be unzipped. If you have a problem downloading or unzipping, please email me. You may print an unlimited number of cards for your personal use or to give as gifts. But because of copyright, please don’t share the digital files with others.
Supplies
- Digital Cards from Nani’s Notebook Shop
- Premium White Cardstock – I use this cardstock from Walmart.
- White A2 Envelopes
- White A7 envelopes
- Paper Trimmer – I recommend this trimmer for nice clean cuts.
- Zip Dry Glue
Note: These are Amazon affiliate links for which I receive a small commission for my recommendations, but it doesn’t increase your cost. See my Disclosure Policy for more information.